HOW TO PHOTOGRAPH A SUNBURST IN 3 EASY STEPS
I’m going to share with you how to photograph a sunburst or a sunstar in three easy steps that you can use with your DSLR camera.
WHAT IS A SUNBURST?
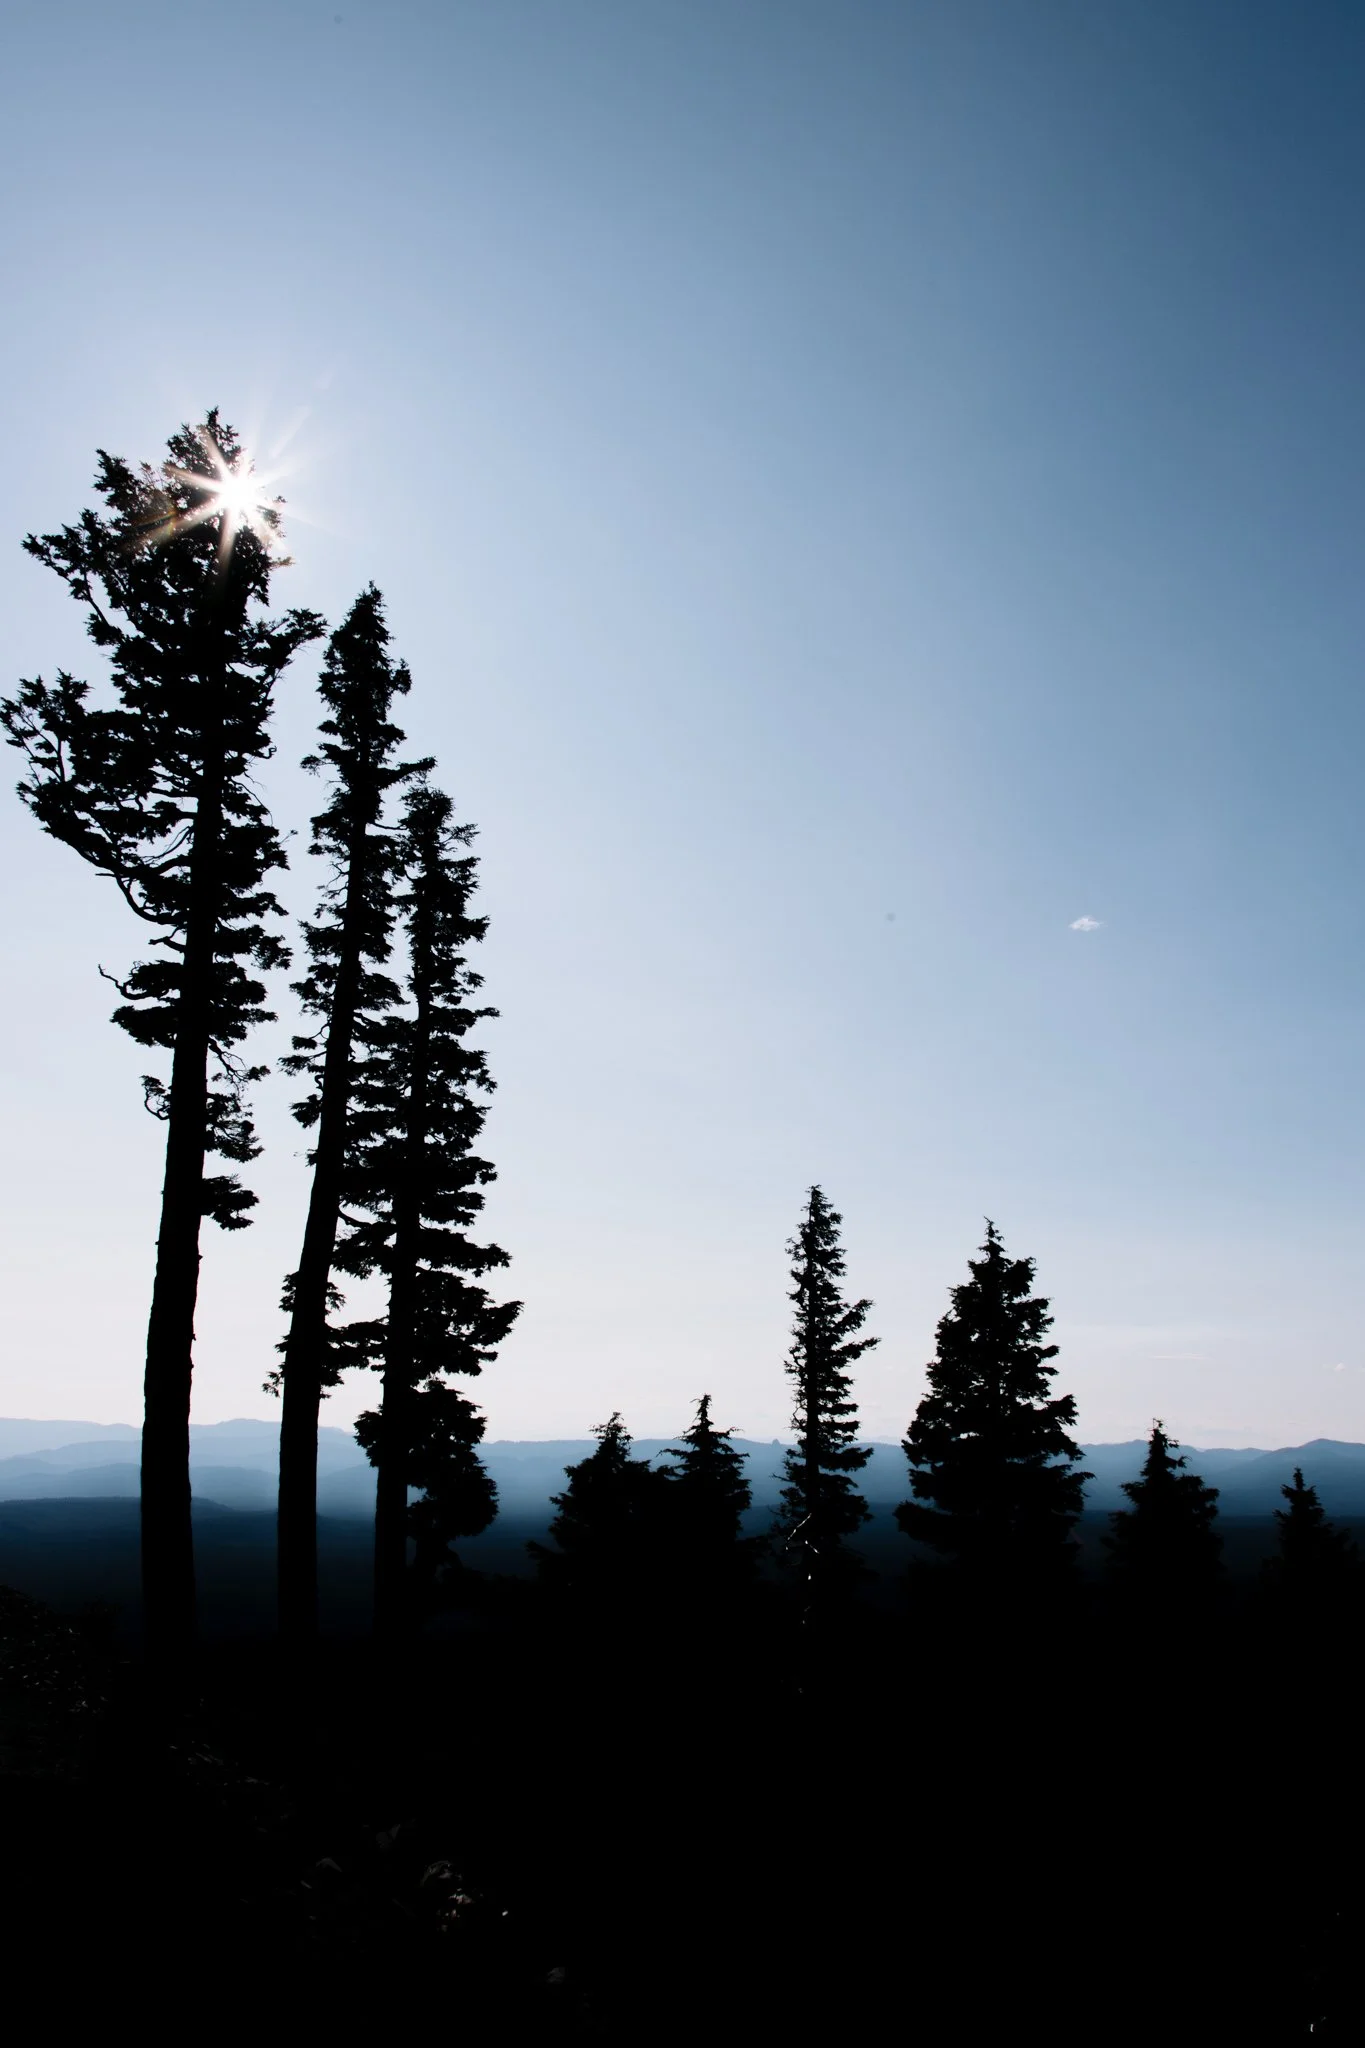
In photography, a sunburst occurs when the sun bounces of an object and you take a picture of that light bouncing off of the object, like the picture below.
WHEN IS The Best Time to Capture a Sunburst?
The best time to capture a sunburst, or sunstar, is typically when the sun is heading towards the horizon and sunset or sunrise.
I remember that lightbulb moment when I figured out how to photograph a sunburst and it was the most exciting thing because all I shot was 35mm film. I don't mean to age myself here, but the internet wasn't even a thing at the time. I had a flip phone and my information came from the library... if I went there at all.
I had to figure it out on my own, and I had to remember what settings I used because there was such a gap in time between when I clicked that shutter, and my film being developed.
I learned the hard way, but you don't have to! I'm going to share with you how to photograph a sunburst in just a few easy steps.
HOW TO PHOTOGRAPH A SUNBURST IN 3 EASY STEPS
STEP ONE | HAVE A NARROW APERTURE
The key is so have a narrow aperture: think f/16 or lower (f/18, f/22, etc.). If you are new to photography, it's important to note here that the smaller the aperture gets, the higher the number your f-stop will be. The smaller your aperture is, the less amount of light will hit your sensor or film. Overall, your image will be darker, so you want to meter your light accordingly.
The thing with metering your light, it really is up to you how you want to expose your image. In most situations, I like to take it down a stop or two from center. This allows me to expose for the highlights more which makes for some really beautiful light contrast.
STEP TWO | COMPOSE YOUR IMAGE LOOKING TOWARDS THE SUN
You want to take a photograph looking directly towards the sun, and you need the sunlight to bounce directly off of an object.
When I do this I'm not looking at the sun as a whole, I am just looking at that little piece of light that is bouncing off of the object like a little sparkle. You don't want to blind yourself here.
STEP 3 | Snap the picture
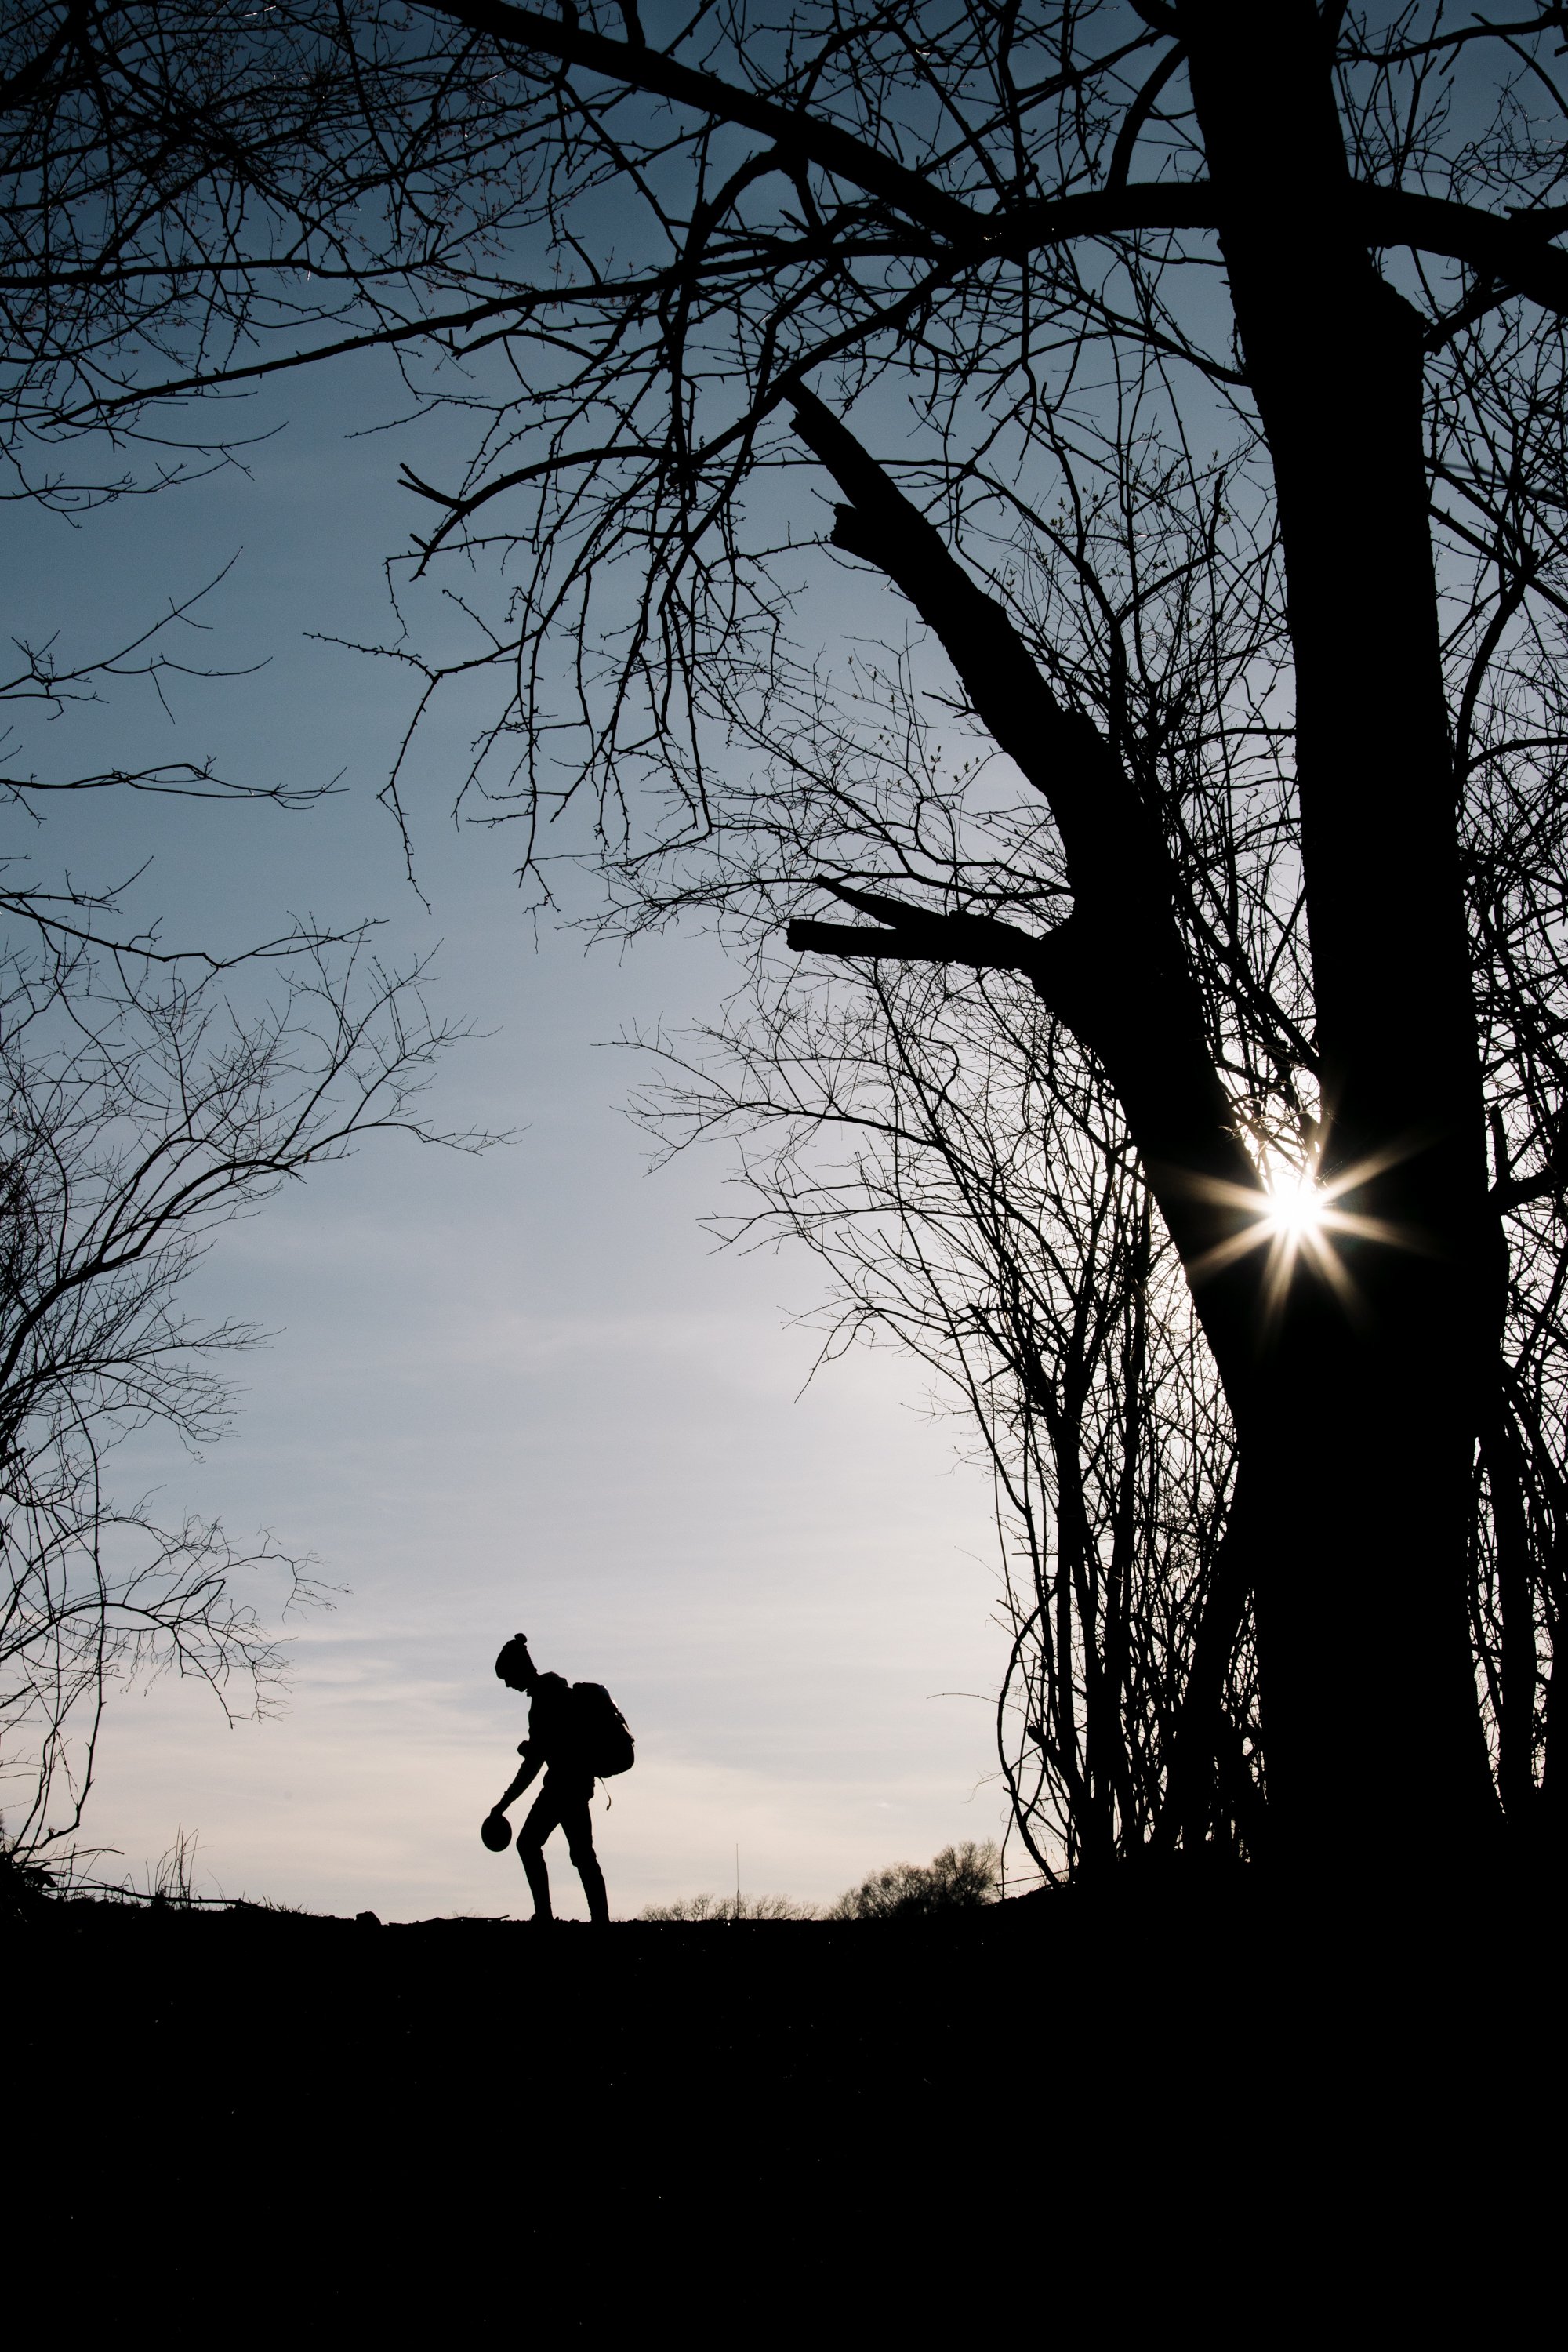
What you photograph in this situation can vary drastically. I love photographing silhouettes this way: leaves and trees, or people on the disc golf course. Often with a combination of both.
The real joy that comes with photography is experimenting with techniques like this. Remember that it's okay to learn the hard way.
LET’S REWIND
Let's rewind and go over those steps again.
1. Start with a low aperture f/16 or lower (f/14 could work too).
2. Shoot towards the sun and find a spot where the sunlight can reflect off of an object.
3. Snap the picture and don't be afraid to make mistakes.
Don’t be afraid with what you choose to photograph here. You can make your images bright so that you can see every detail in them, or dark like a silhoutte.

Silhouettes are personally my favorite style of images to photograph with this technique, but you really have to be in the moment to figure out how you will photograph it. It really is up to the photographer and your style to put it all together.
Practicing techniques like this will not only add another tool to your kit, it will help you become better at photography and expand your creative muscle memory.